People are becoming more conscious about the ingredients in their everyday products, as they should be. Homemade soap is gaining popularity for its simplicity, natural ingredients and customization potential. Making your own soap at home allows you to control exactly what goes into your soap, ensuring that you’re using products that are both safe and nourishing. Here’s a guide to getting started with homemade soap, including the basics, benefits and some tips for crafting your perfect bar!
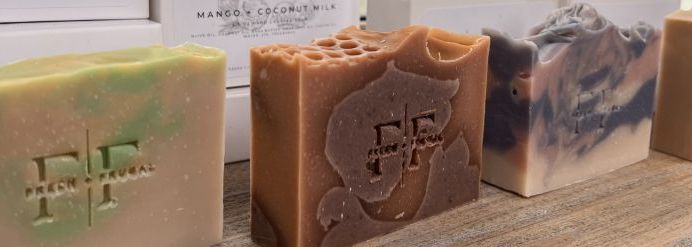
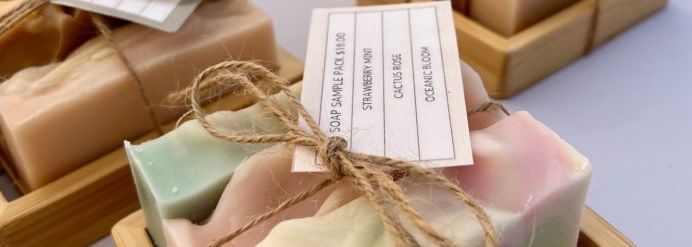
Not feeling too crafty? That’s okay! Golden Rose Homestead, Grazing Beauty and Fresh + Frugal bring the most amazing handmade artisan soap to the market every Saturday. Come to the Gretna Farmers Market to shop their local goods!
Why make homemade soap?
Control over ingredients
One of the primary benefits of homemade soap is the ability to choose every ingredient. Commercial soaps often contain synthetic chemicals, fragrances and preservatives that can be harsh on the skin. When you make soap at home, you can opt for natural oils, butters, essential oils and other ingredients that are gentle and beneficial for your skin.
Customization
Homemade soap can be tailored to meet your specific skin needs. Whether you need a soap that’s moisturizing, exfoliating or gentle for sensitive skin, you can customize your recipe to suit your preferences. You can also experiment with different shapes, colors and scents, making each batch of soap truly unique.
Environmental benefits
Homemade soap is often more environmentally friendly than store-bought alternatives. You can be sure you’re choosing sustainable ingredients, and you can avoid plastic packaging by using reusable molds. Homemade soap doesn’t contain the microplastics or synthetic detergents found in many commercial soaps, which can be harmful to the environment.
The basics of soap making
Soap making involves a chemical reaction called saponification, where fats or oils react with a strong alkali (lye) to produce soap and glycerin. There are two primary methods for making soap at home: cold process and melt-and-pour.
Cold process soap making
Cold process soap making is the traditional method where oils are mixed with lye and then poured into molds. The soap needs to cure for several weeks before it’s ready to use. This method allows for greater customization, as you can choose the types of oils, butters and additives.
Melt and pour soap making
Melt-and-pour is a simpler method where pre-made soap bases are melted, customized with additives, and then poured into molds. This method is quicker and doesn’t involve handling lye, making it ideal for beginners.
Tips for success
Always handle lye with care, using gloves and goggles, and work in a well-ventilated area. Natural additives like oatmeal, honey and dried herbs can add texture and benefits to your soap. Lastly, If using the cold process method, be patient with the curing time. Proper curing allows the soap to harden and improves its longevity.
Shop local goods at the Gretna Farmers Market
Making homemade soap offers numerous benefits. Whether you choose the traditional cold process method or the beginner-friendly melt-and-pour approach, the possibilities for creativity are endless. So gather your ingredients, pick your favorite scents and start crafting your own custom bars of soap today! We hope to see you this Saturday in downtown Gretna, where you can shop tons of amazing local goods!


